Proper valve installation and maintenance is key to efficient system operation and safety. This article provides step-by-step instructions, common misconceptions and professional advice.
I. Pre-installation Preparation
Storage requirements
Valves should be stored in a dry and ventilated place, port sealing dust.
Long-term storage needs to be checked regularly, the metal surface coated with anti-rust oil.
Specification verification
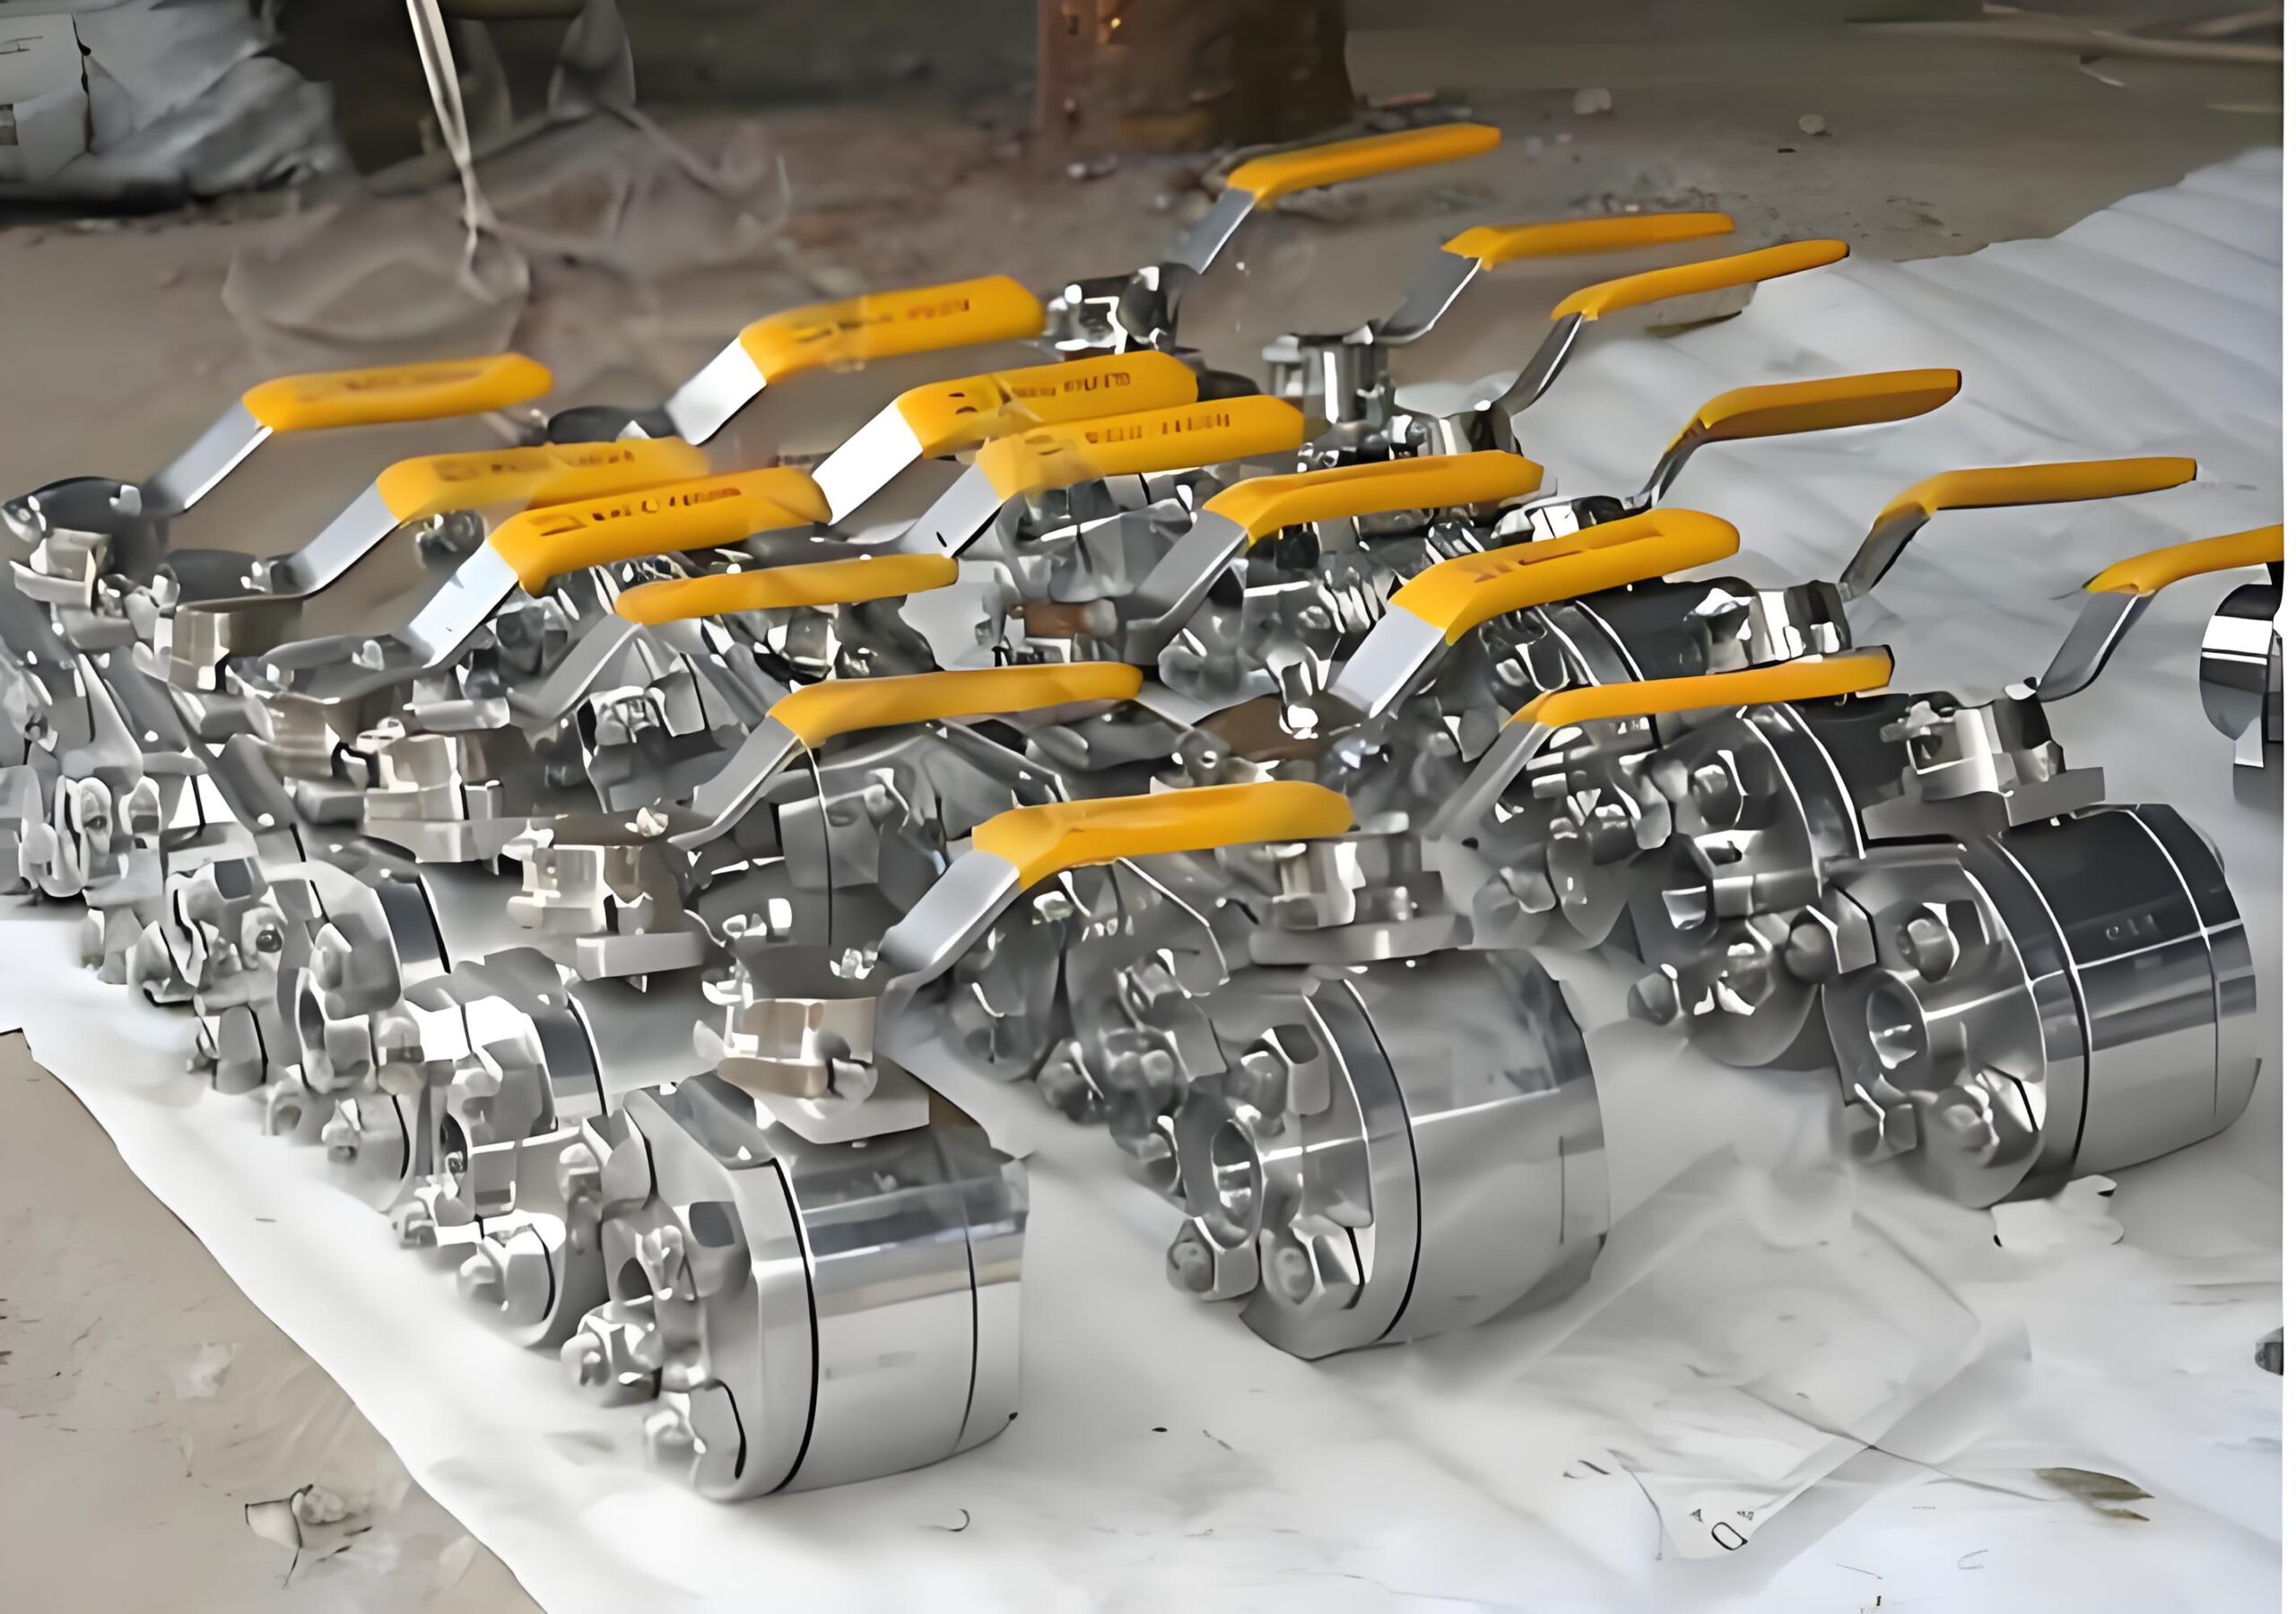
Verify whether the valve parameters (pressure, temperature, material) are consistent with the design requirements.
Check whether the valve body and sealing surface are clean and undamaged.
II. Installation and Operation Procedure
A. General principles
Directional valves (such as globe valves): install according to the valve body arrow instructions.
Operating space: handwheel 1.2 meters from the ground is appropriate for easy operation.
Large-diameter gate valve: vertical installation is recommended to avoid valve stem offset.
B. Key points of connection method
Type Key Steps
Flange connection 1. Select the gasket that matches the flange groove type. 2.
- Diagonally tighten the bolts (torque 50-150N・m).
Threaded connection Wrap raw material tape around the male thread (to avoid entering the valve cavity).
Welding connection Preheat the carbon steel pipe at ≥100℃ and keep the welding seam spacing at 10-15mm.
Third, special scene installation
Cryogenic valve
Liquid nitrogen environment to test the opening and closing flexibility.
Valve stem tilt 10 ° installation, to prevent condensate corrosion seal.
Safety valve
Inlet and outlet straight pipe section ≥ 1.5 times the pipe diameter.
Maintain ambient temperature ≥5℃ to prevent frost failure.
High-temperature valves
Threads are coated with molybdenum disulfide anti-sticking agent.
The bolts need to be heat-tightened twice after operation (to compensate for thermal expansion).
Inspection after installation
Function test
Full-stroke opening and closing to verify smooth operation.
Pressure test according to ASME B31.3.
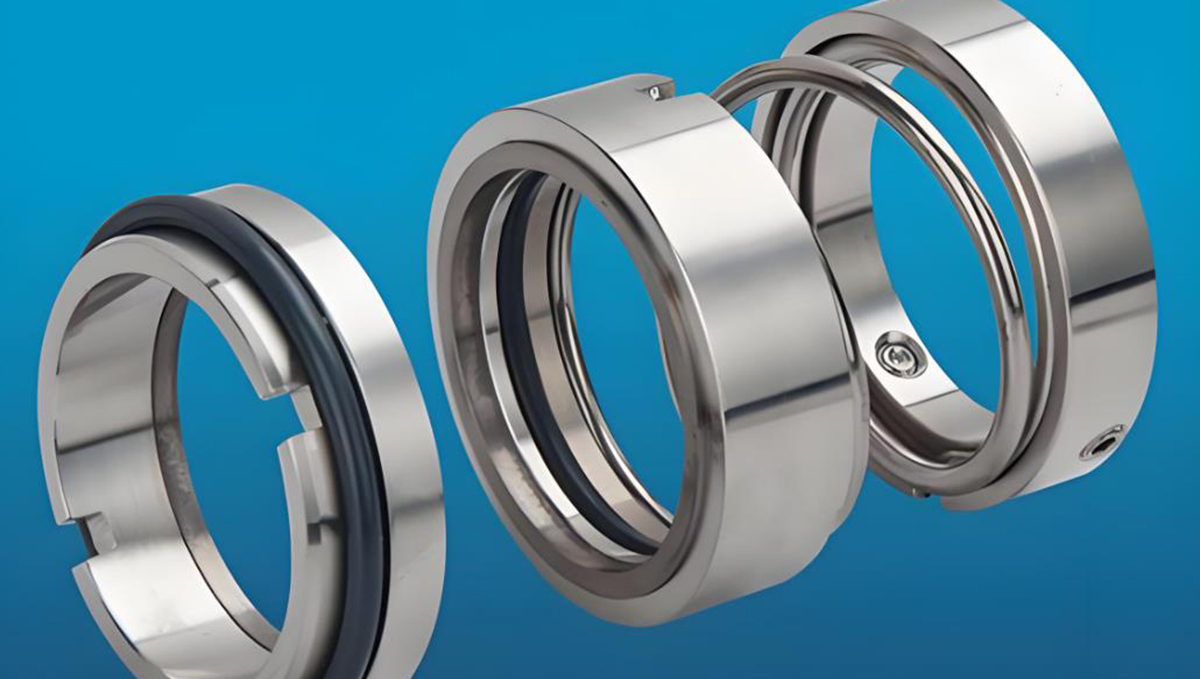
Leakage test
Low pressure system: Soap and water leak test.
High pressure system: ultrasonic detector.
V. Maintenance Program
Lubrication cycle
Valve stem threads: Monthly lithium grease.
Gearbox: quarterly ISO VG 100 lubricant.
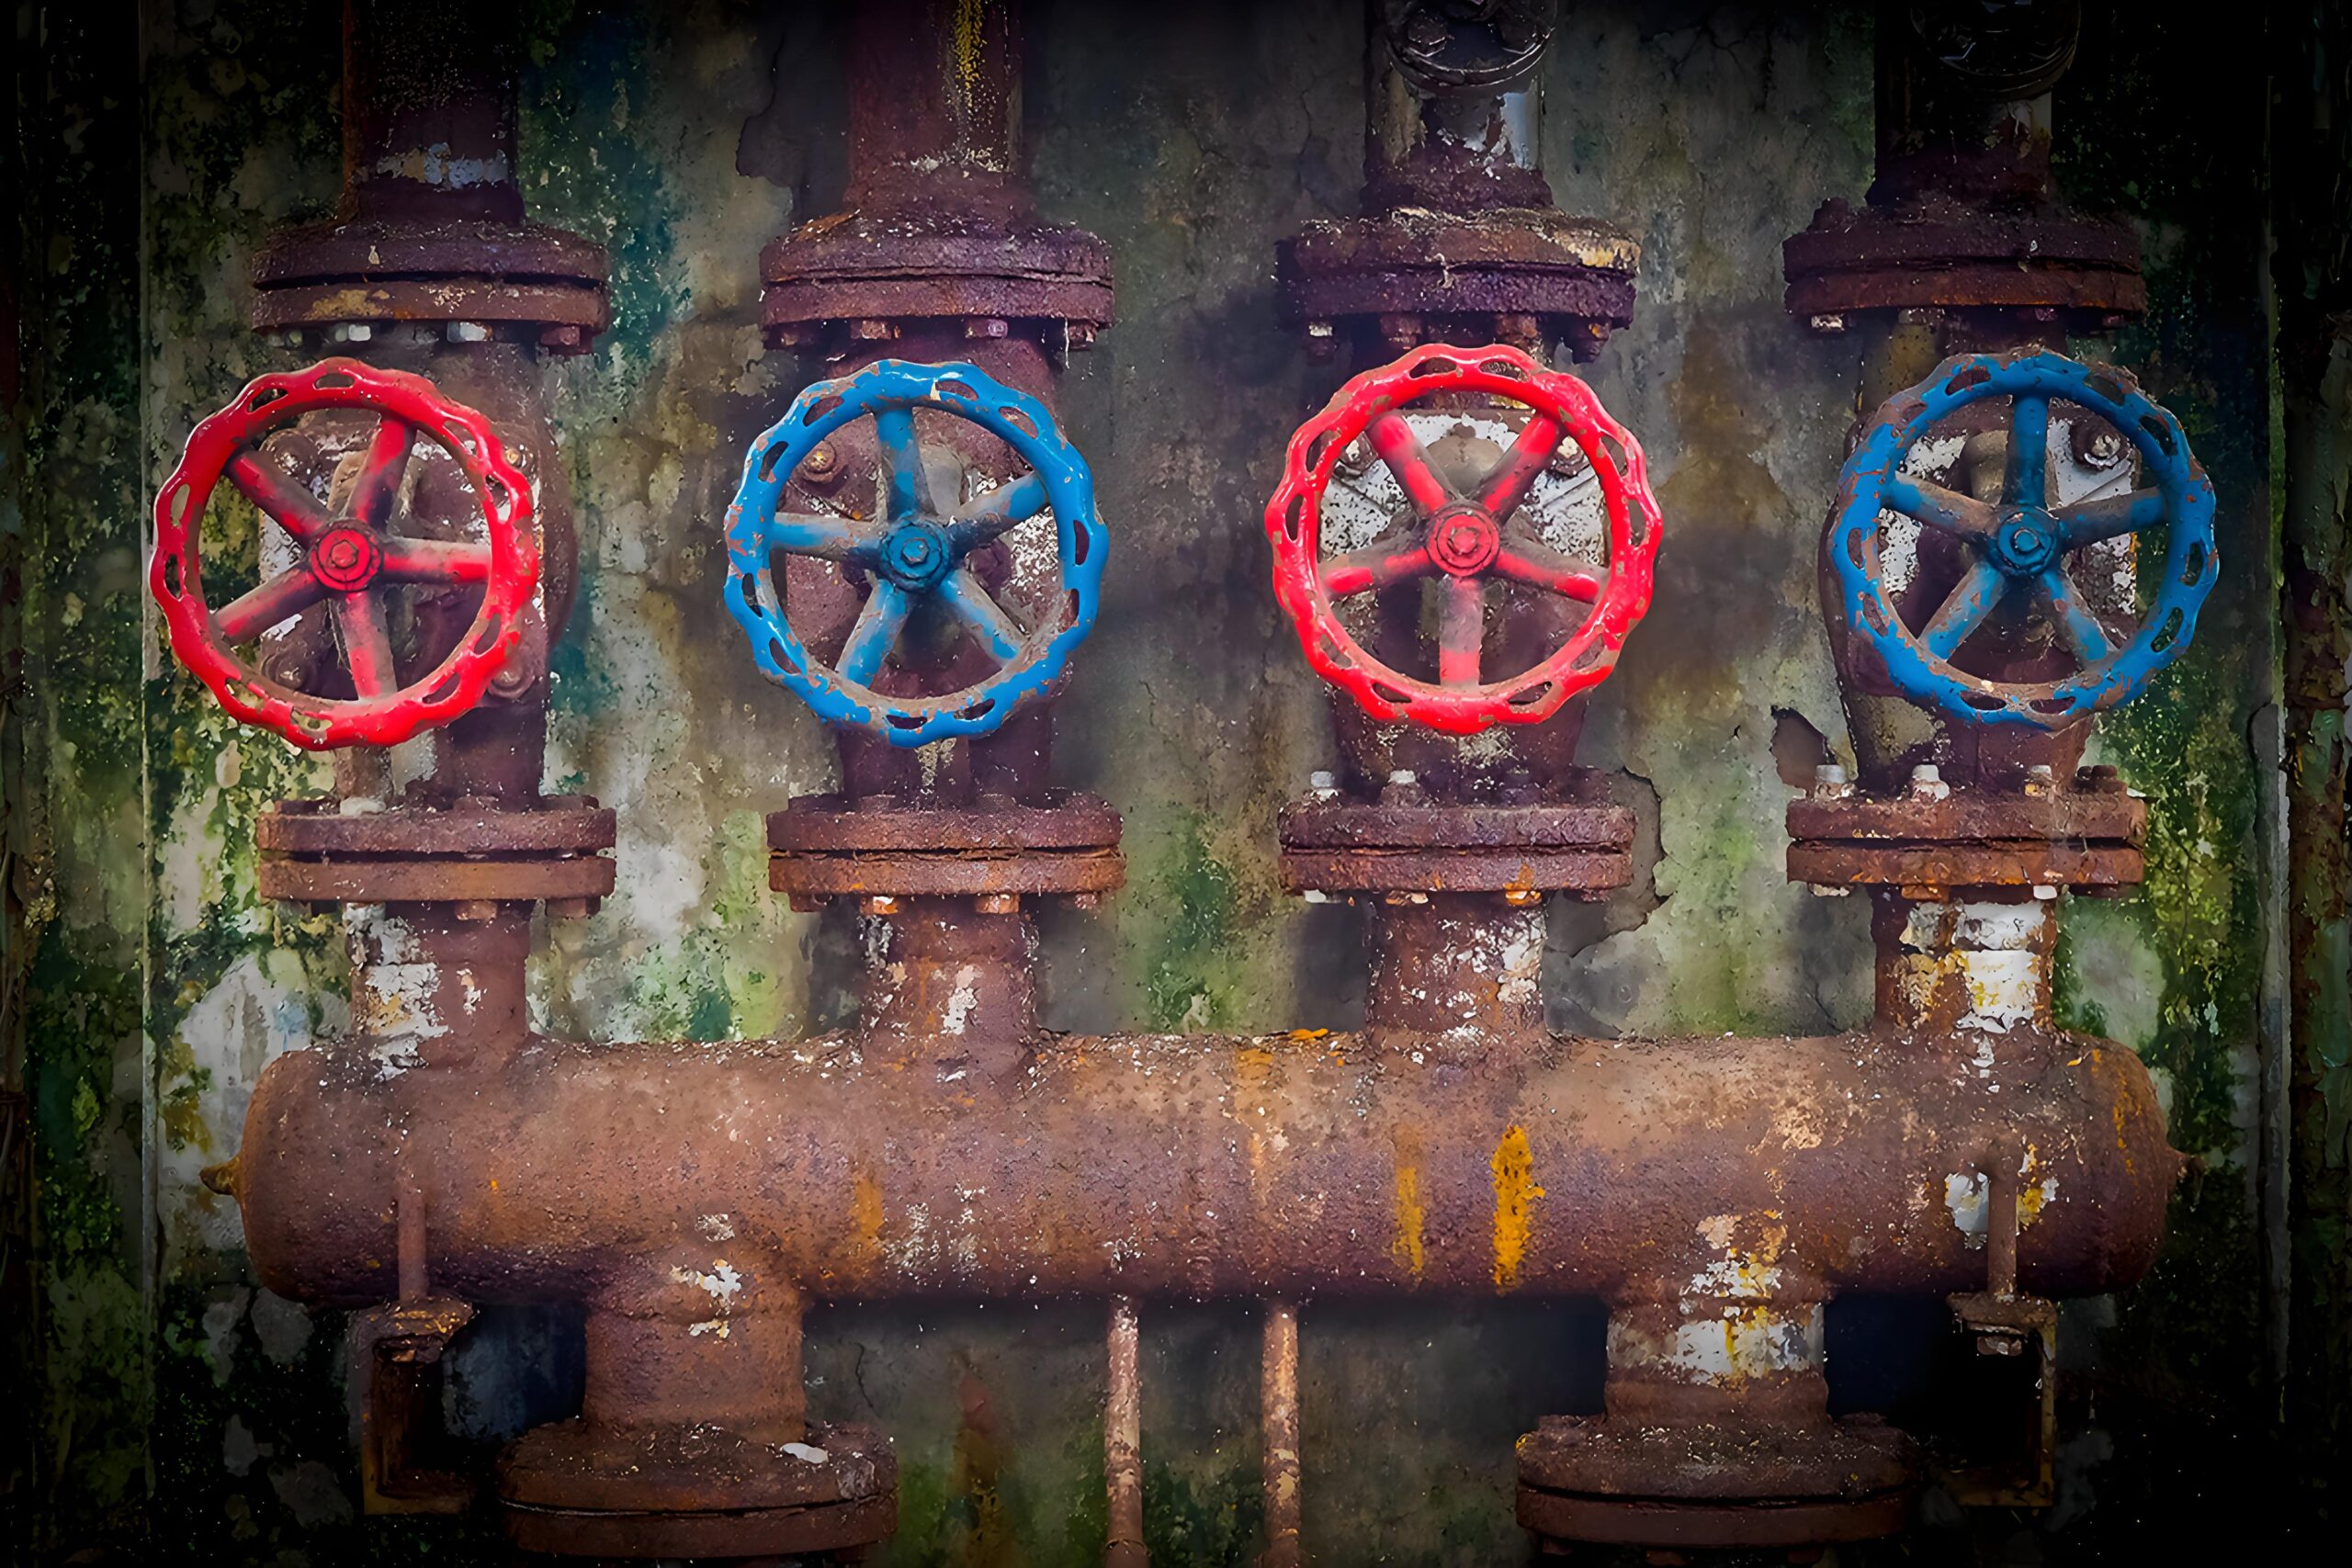
Anti-corrosion measures
Corrosive environment: valve coated with epoxy resin.
Seawater system: use 316L stainless steel valve.
VI. Disassembly Precautions
Safe operation
Relieve the system pressure and isolate the valve.
Use load-bearing equipment to match the lifting equipment.
Component Protection
Mark flange alignment for reset.
Remove welding residue (disable power tools).
Common Mistakes to Avoid
Torque Control
Use a calibrated wrench to avoid over-tightening that could distort the valve body.
Allowance for Thermal Expansion
Allow 3-5mm for pipe expansion in high temperature systems.
Seal Management
Replace gaskets every 2-3 years (or when system is shut down).
Summary
Following this guide will ensure long term stable operation of the valve. For complex installations, it is recommended that a certified team in accordance with API 600/ASME standards be commissioned. Contact us for customized installation kits and maintenance plans.