When installing a ball valve, it is critical to ensure that every step is done correctly, not only for the performance of the ball valve, but also for the safe operation of the entire fluid system. The following detailed steps, from pre-installation preparation to post-installation inspection, are designed to help you complete your ball valve installation with ease.
Pre-installation preparation
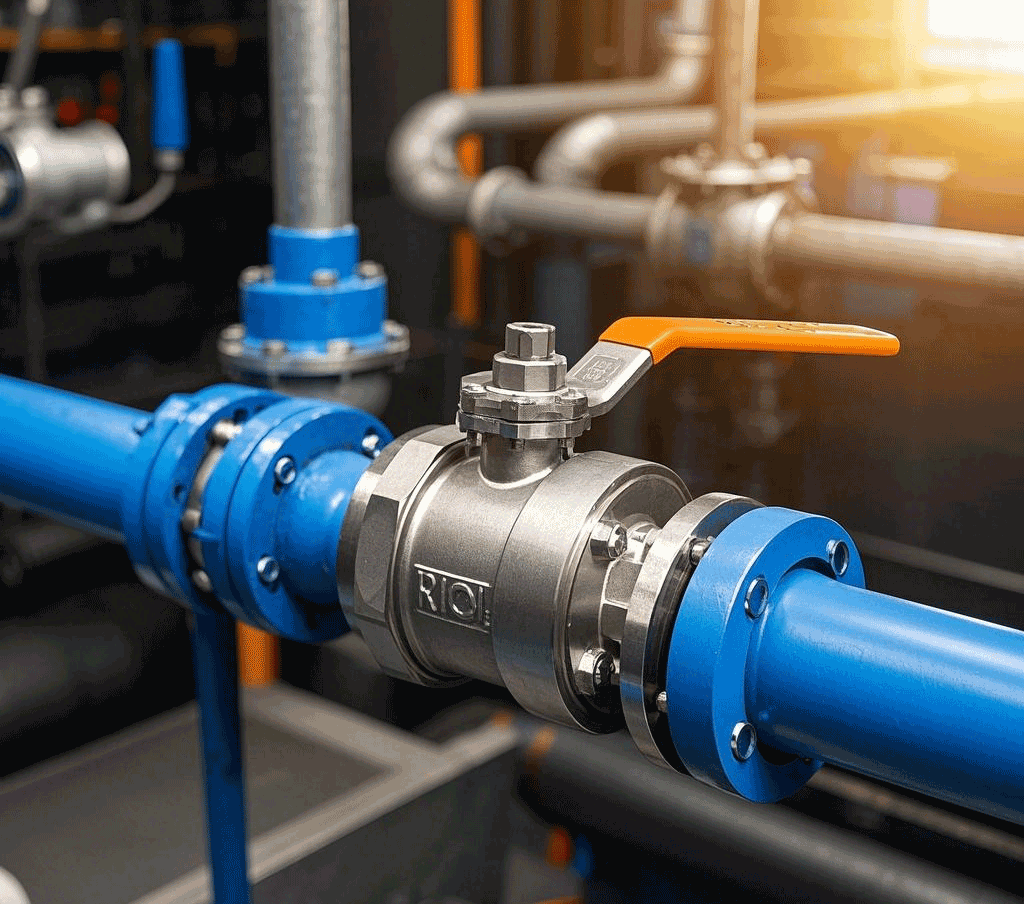
Piping Preparation:
Ensure that the piping before and after the ball valve has been prepared, and the piping should be coaxial, and the sealing surfaces of the two flanges should be kept parallel.
The piping must be able to support the weight of the ball valve. If the piping cannot support it, install appropriate support structures on the piping.
Pipe Cleaning:
Using compressed air or appropriate cleaning tools, blow the piping before and after the ball valve to remove oil, welding slag and other impurities.
Ball Valve Inspection:
Verify the ball valve markings to ensure that the ball valve is intact.
Fully open and close the ball valve several times to verify proper operation.
Remove protective parts:
Remove protective pieces from the connecting flanges on both ends of the ball valve for installation.
Valve Hole Inspection and Cleaning:
Inspect the valve holes to ensure that they are free of dirt. Use a suitable cleaning agent to clean the valve holes, as even tiny particles may damage the seat sealing surface.
Begin installation of the ball valve
Installation position:
Install the ball valve on the pipeline, either end of the valve can be used as the upstream end.
If the ball valve is actuated by a handle, it can be installed anywhere on the pipeline. However, if the ball valve has a gearbox or pneumatic actuator, it should be installed in an upright position, i.e. on a horizontal pipe with the actuator above the pipe.
Install the gasket:
Install a gasket between the valve flange and the piping flange according to the piping design requirements.
Tighten bolts:
Tighten the bolts on the flanges symmetrically, one by one and evenly to ensure a tight flange connection.
Connect pneumatic line (if applicable):
If a pneumatic actuator is used, connect the pneumatic line and make sure it is firmly connected.
Inspection of ball valves after installation
Operation check:
Operate the actuator to open and close the ball valve several times to ensure that the ball valve operates flexibly and without stagnation, and to verify that it works properly.
Sealing performance check:
According to the piping design requirements, check the sealing performance of the flange bonding surface between the piping and the ball valve to ensure that there is no leakage.
Following the above steps, you can easily complete the installation of the ball valve, and ensure its stable performance, safety and reliability. If you encounter any problems or questions during the installation process, please feel free to consult a professional.
Ball Valve Installation Guide: Comprehensive Steps from Preparation to Inspection